Description
Description
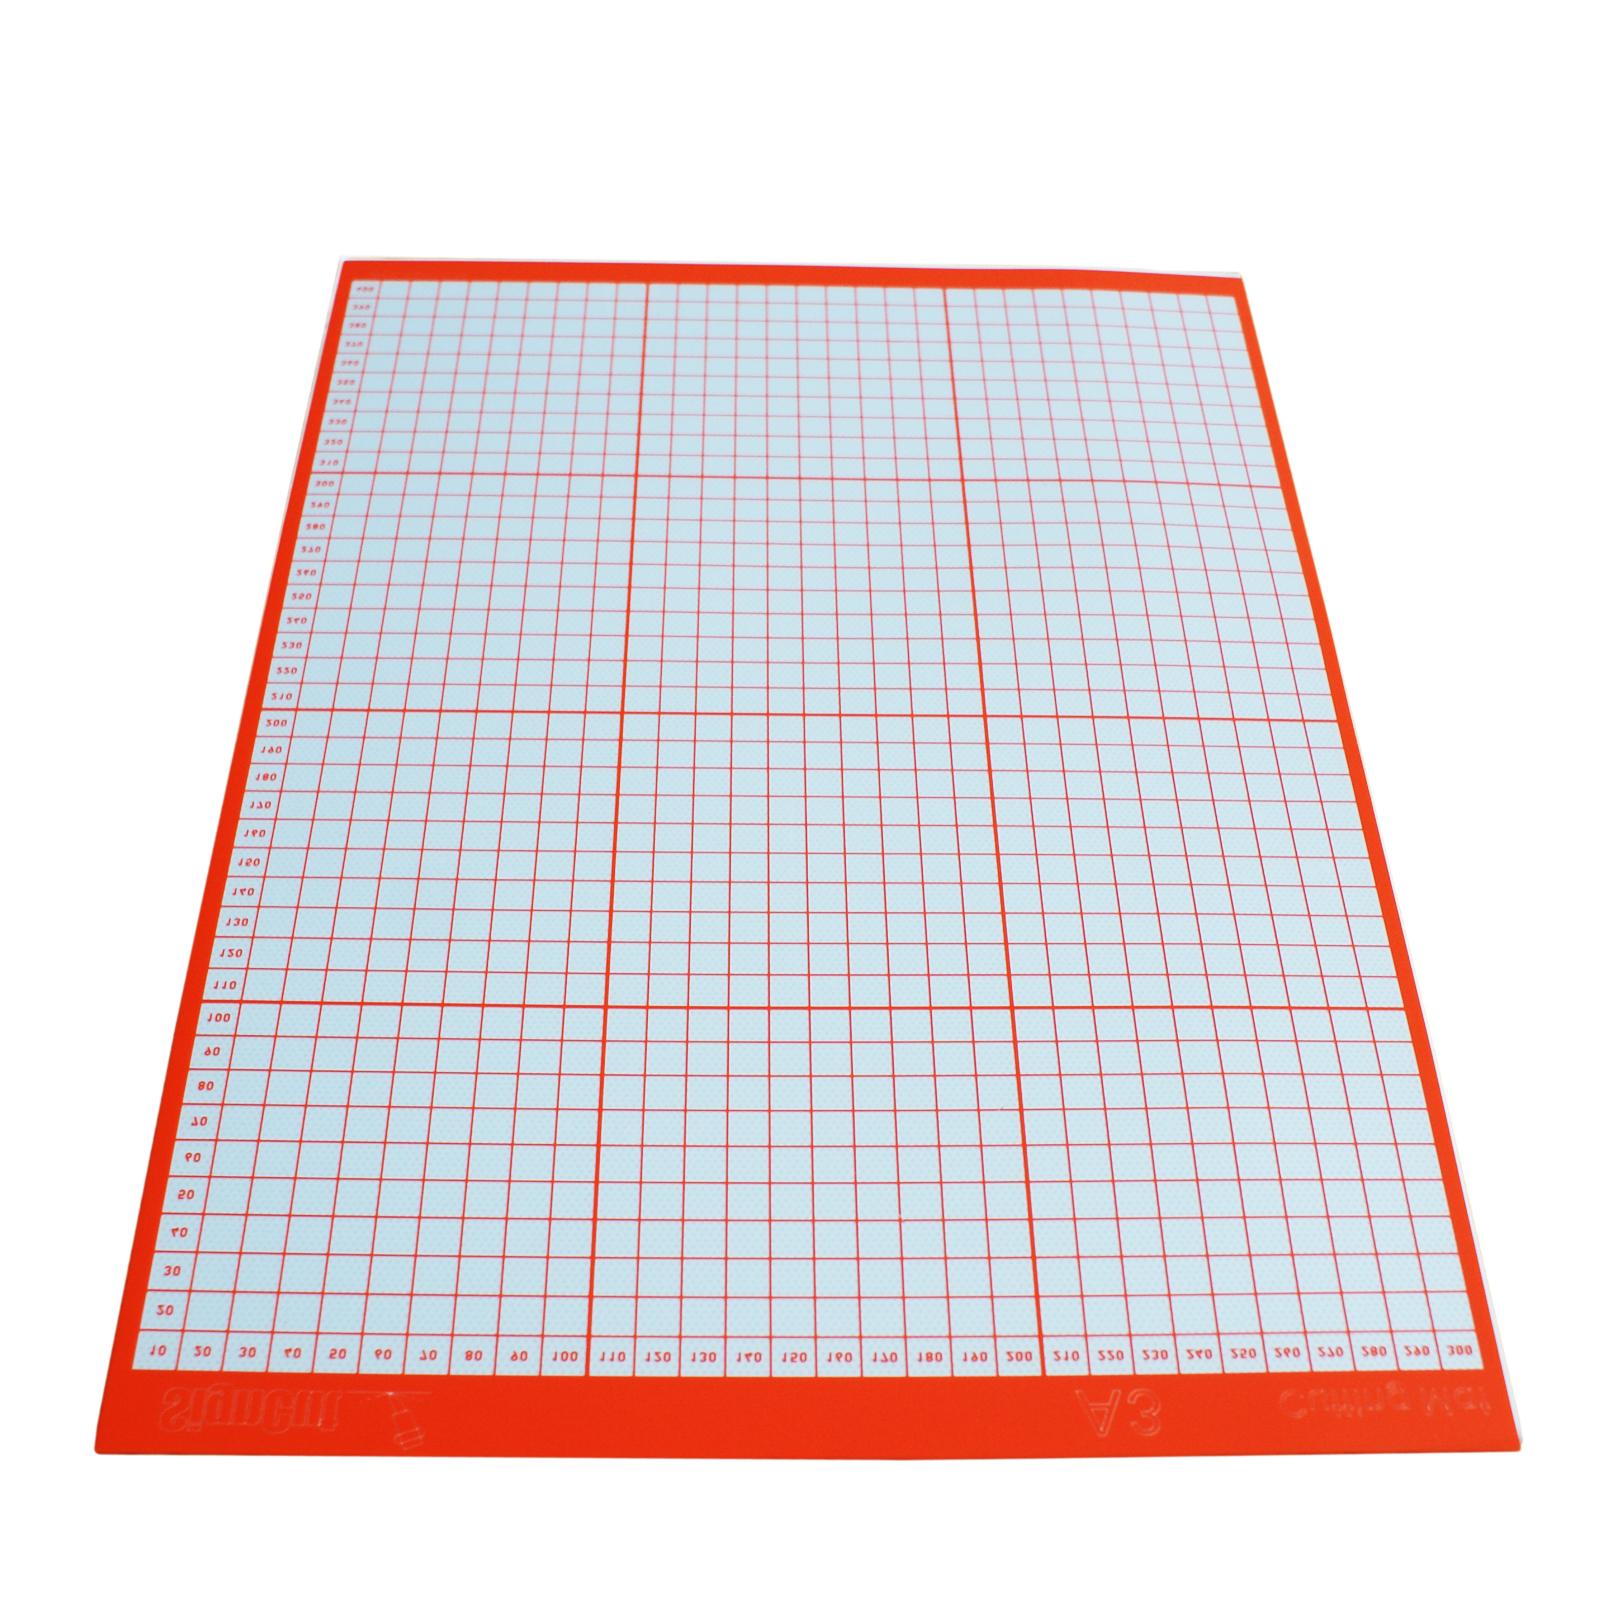
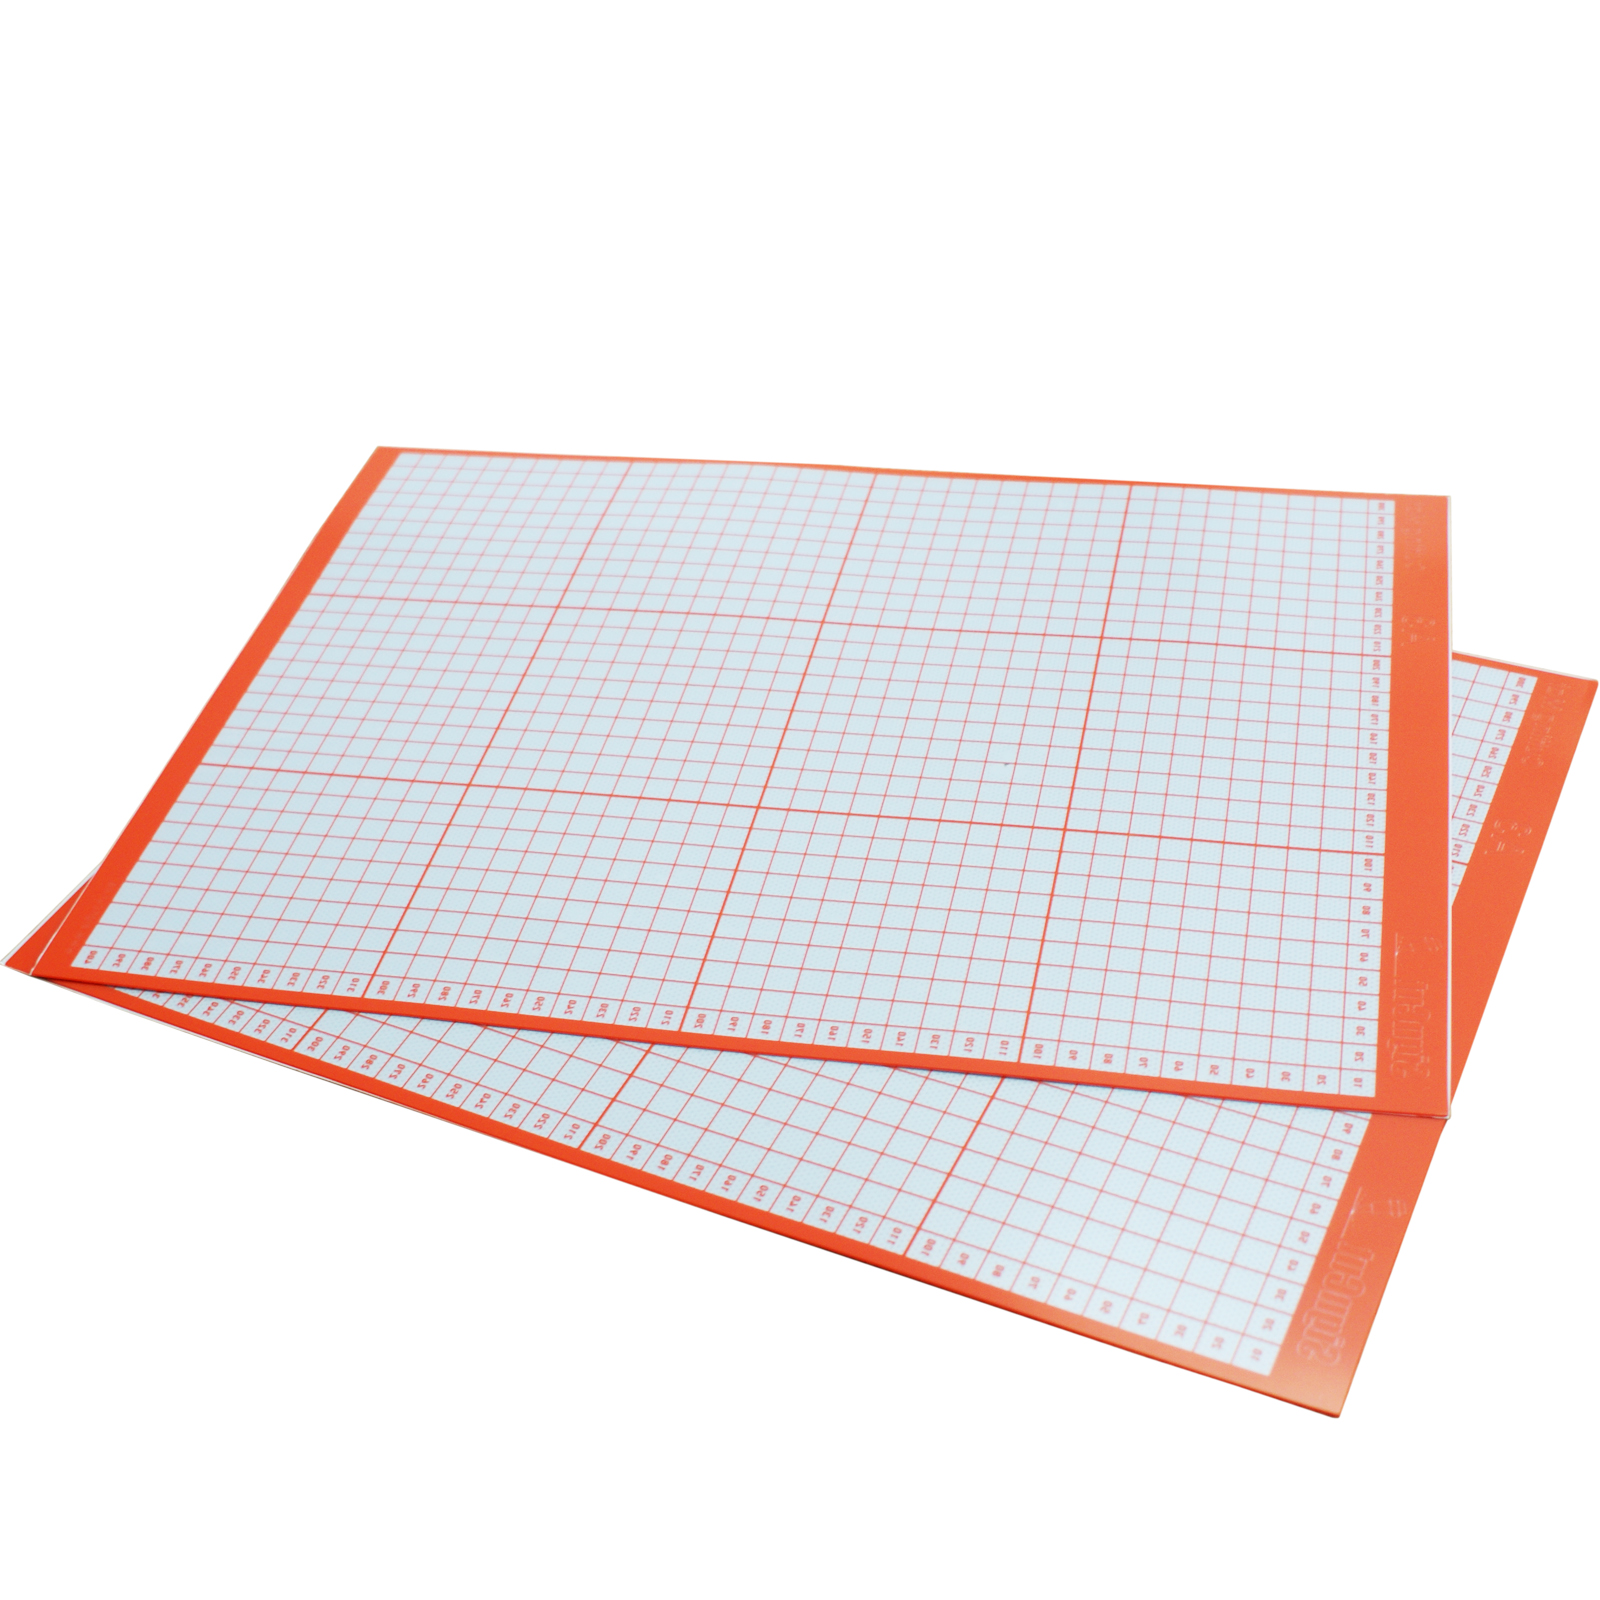
12″ x 17″ A3 Cutting Mat With Craft Sticky For Vinyl Cutter Cutting Plotter
High Quality and Long Life!
Create your own stencils!
The cutting mat is produced for the vinyl cutter plotter. With the help of this sticky cutting mat, you can cut almost everything which is single layer.
To avoid the paper moving during work, it’s better to use the cutting mat because of the feature of cutting mat sticky when cut normal material without backing paper. And the material should be sticking on the mat to ensure it non slip.
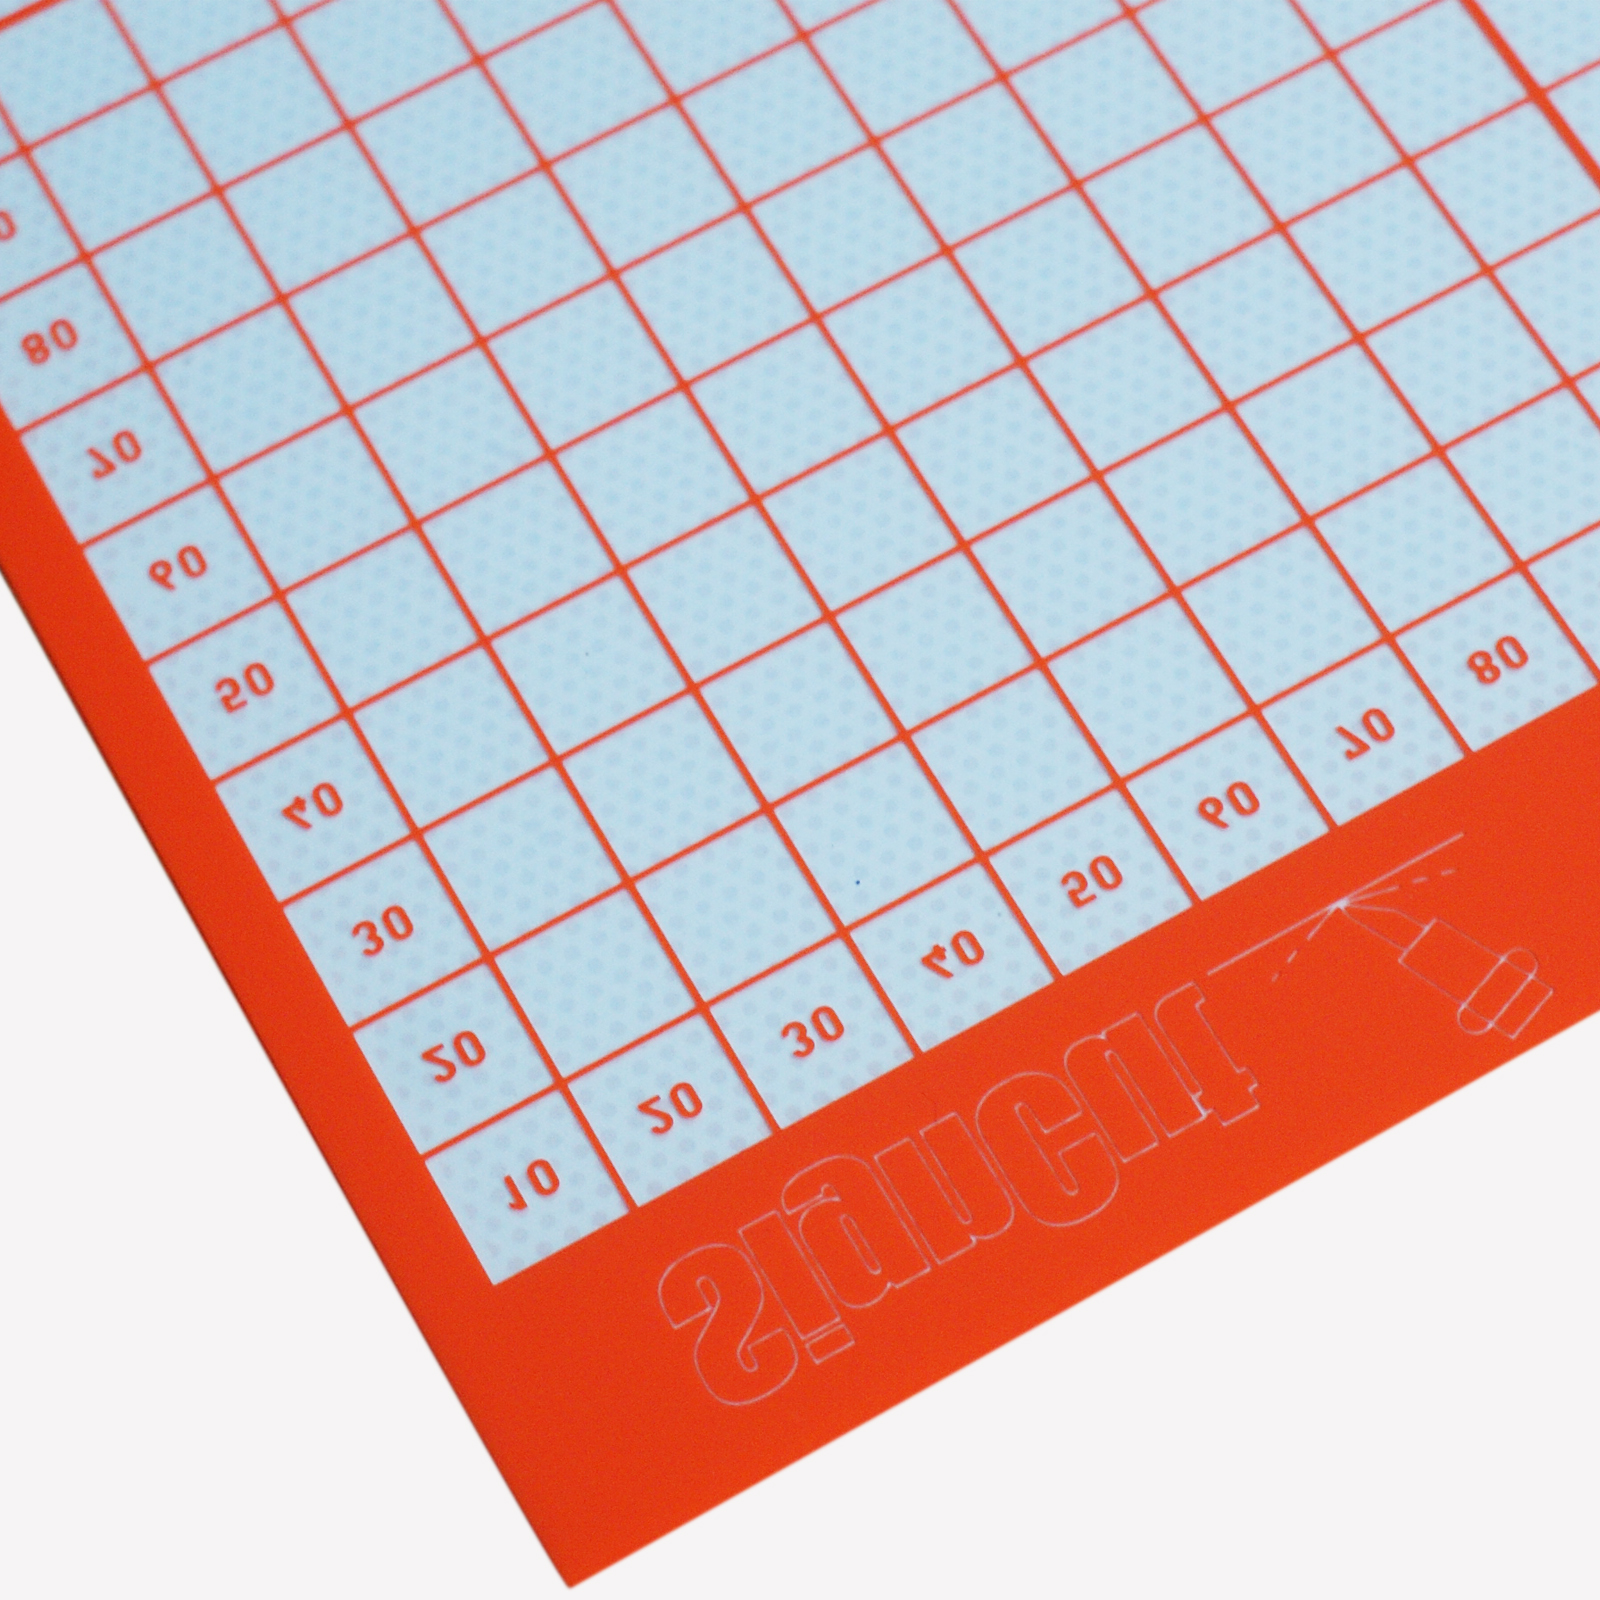
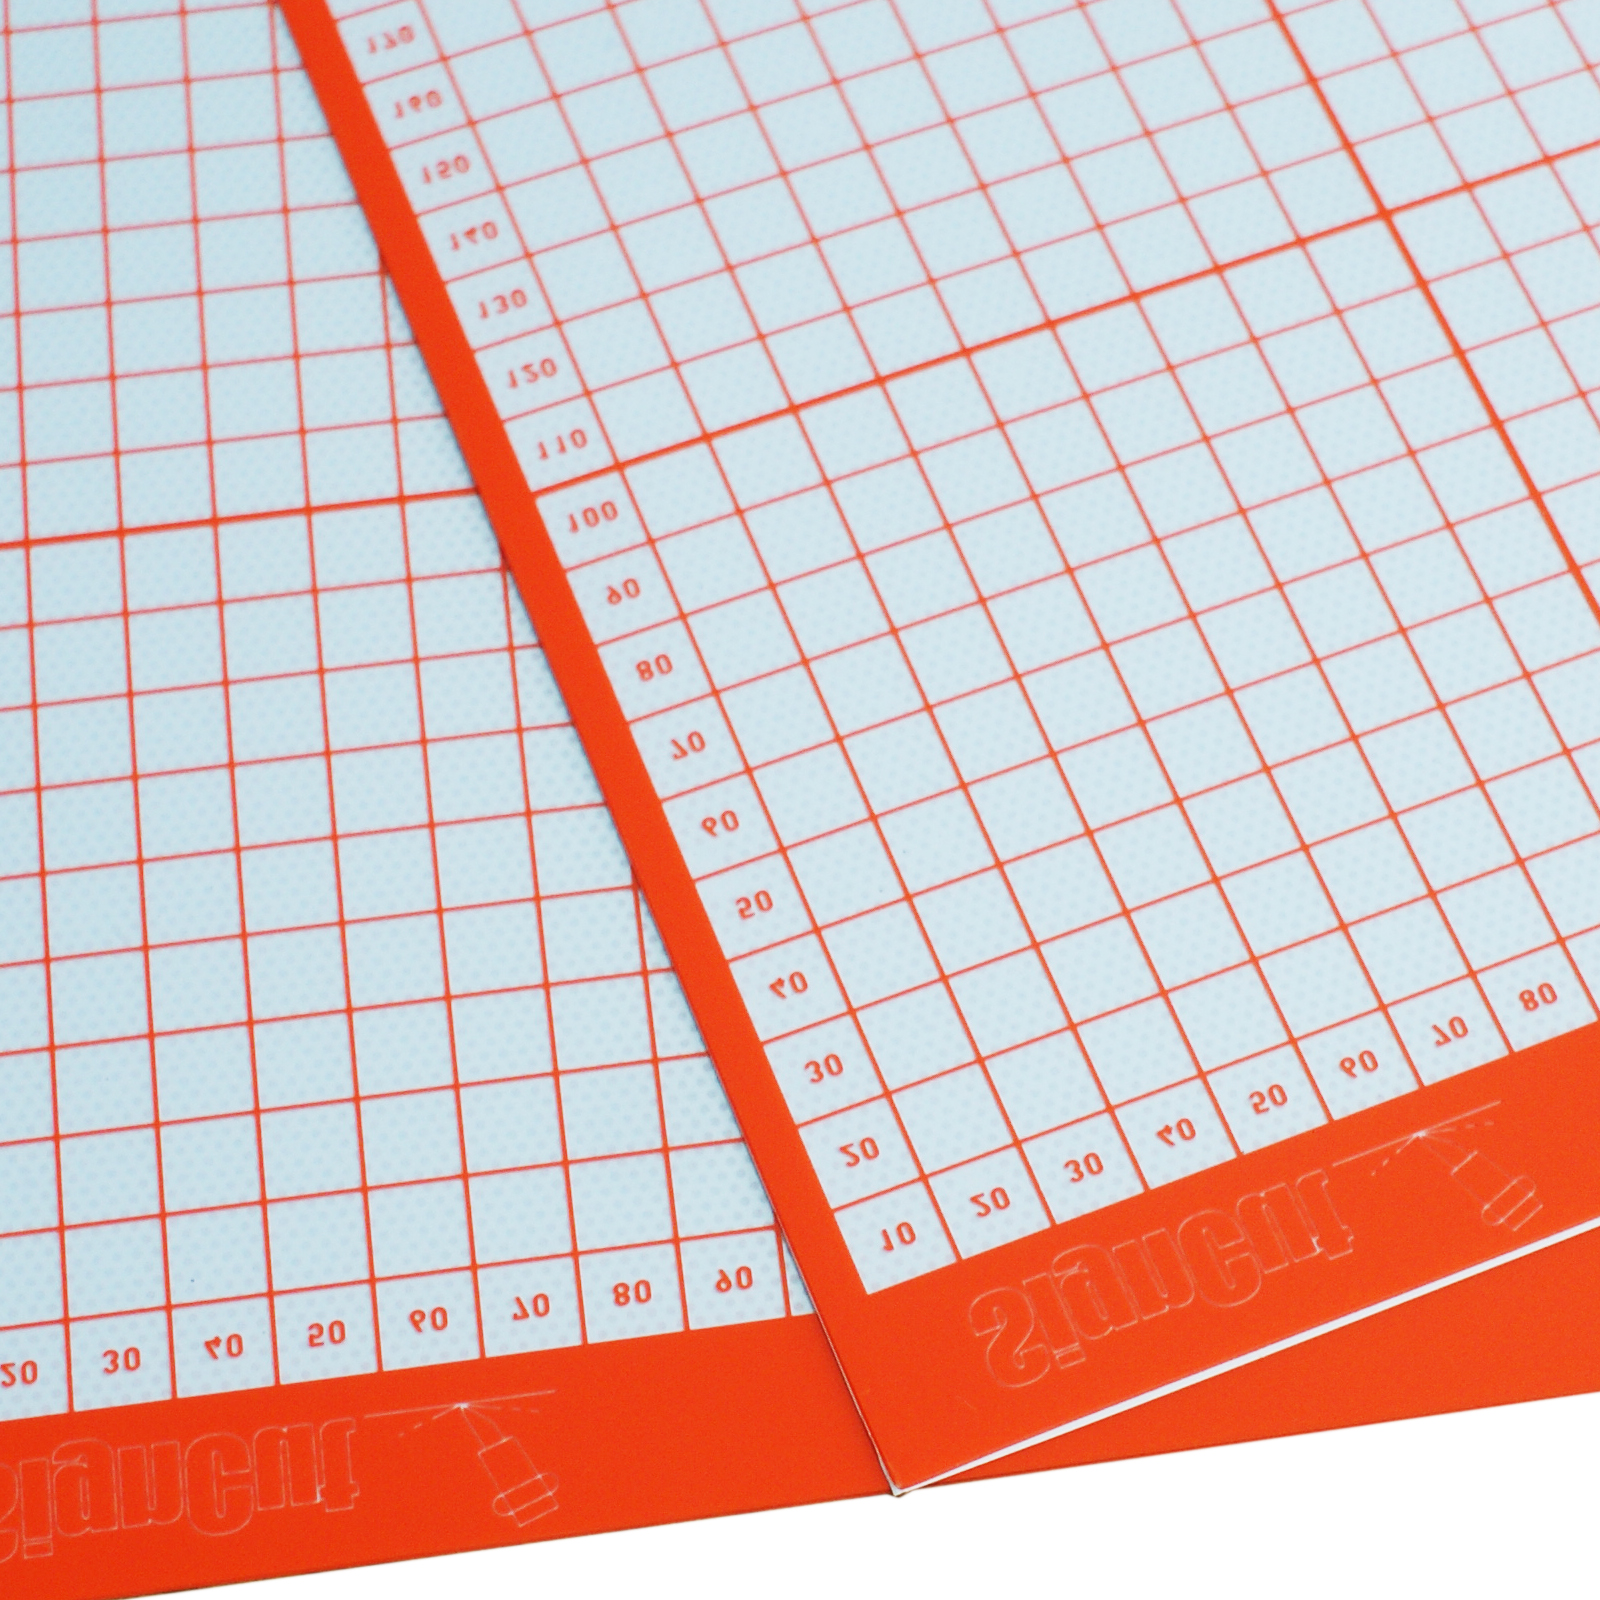
The material size should be smaller than the cutting mat. There are printed grids on the mat that is convenient for you to measure the size you need.
1. To avoid the paper moving during work, it’s better to use the cutting mat when cut normal paper.
2. It can be used about 100 times.
3. Normally, the stickiness will weaken when it was used 20 – 30 times; you’d better use 3M no. 67 glue to spray it in order to prolong its lifespan.
4. The paper should be sticking on the mat. The paper size should be smaller than the cutting mat.
Warm Tips:
You can control the cutting procedure according to the typesetting order, for example, first edited graphics will cut firstly. when the stickiness is weaken, you’d better cut the internal pattern first, and then the external in order to prolong the lifespan.
Features
◆ Non slip.
◆ Sticky Printed Grid.
◆ Durable and Convenient.
◆ Comes with marking grids for accurate cutting.
◆ Size: 428mm x 308mm x 0.5mm (17″ x 12″ x 0.2″)
—Reusing Method
After several times using, the surface of the cutting mat becomes non-sticky. You should wash it before use, and the cutting mat will be re-sticky after cleaning. If the cutting mat is not sticky completely or not sticky enough, you should make use of the bedplate adhesive.
1. Before using, you should wash and clean the cutting mat with a brush.
2. After being cleaned, the cutting mat should be dried in the air, and it will be re-sticky.
3. If the cutting mat is still not sticky, please spread on the cutting mat a layer of bedplate adhesive on the end of cutting mat.
4. Then scraping the bedplate adhesive from one end to the other end of the cutting mat using a squeegee.
5. Make sure the bedplate adhesive evenly on the cutting mat.
6. Dry the cutting mat in the air, and then stick the material to be cut on the cutting mat, and smoothing it out.

